Your repo root is already the primary lane — it always exists and is edit-protected. You don’t pick a “lane type”; you simply add a new worktree lane for the task. This first one branches a fresh worktree off your default branch.
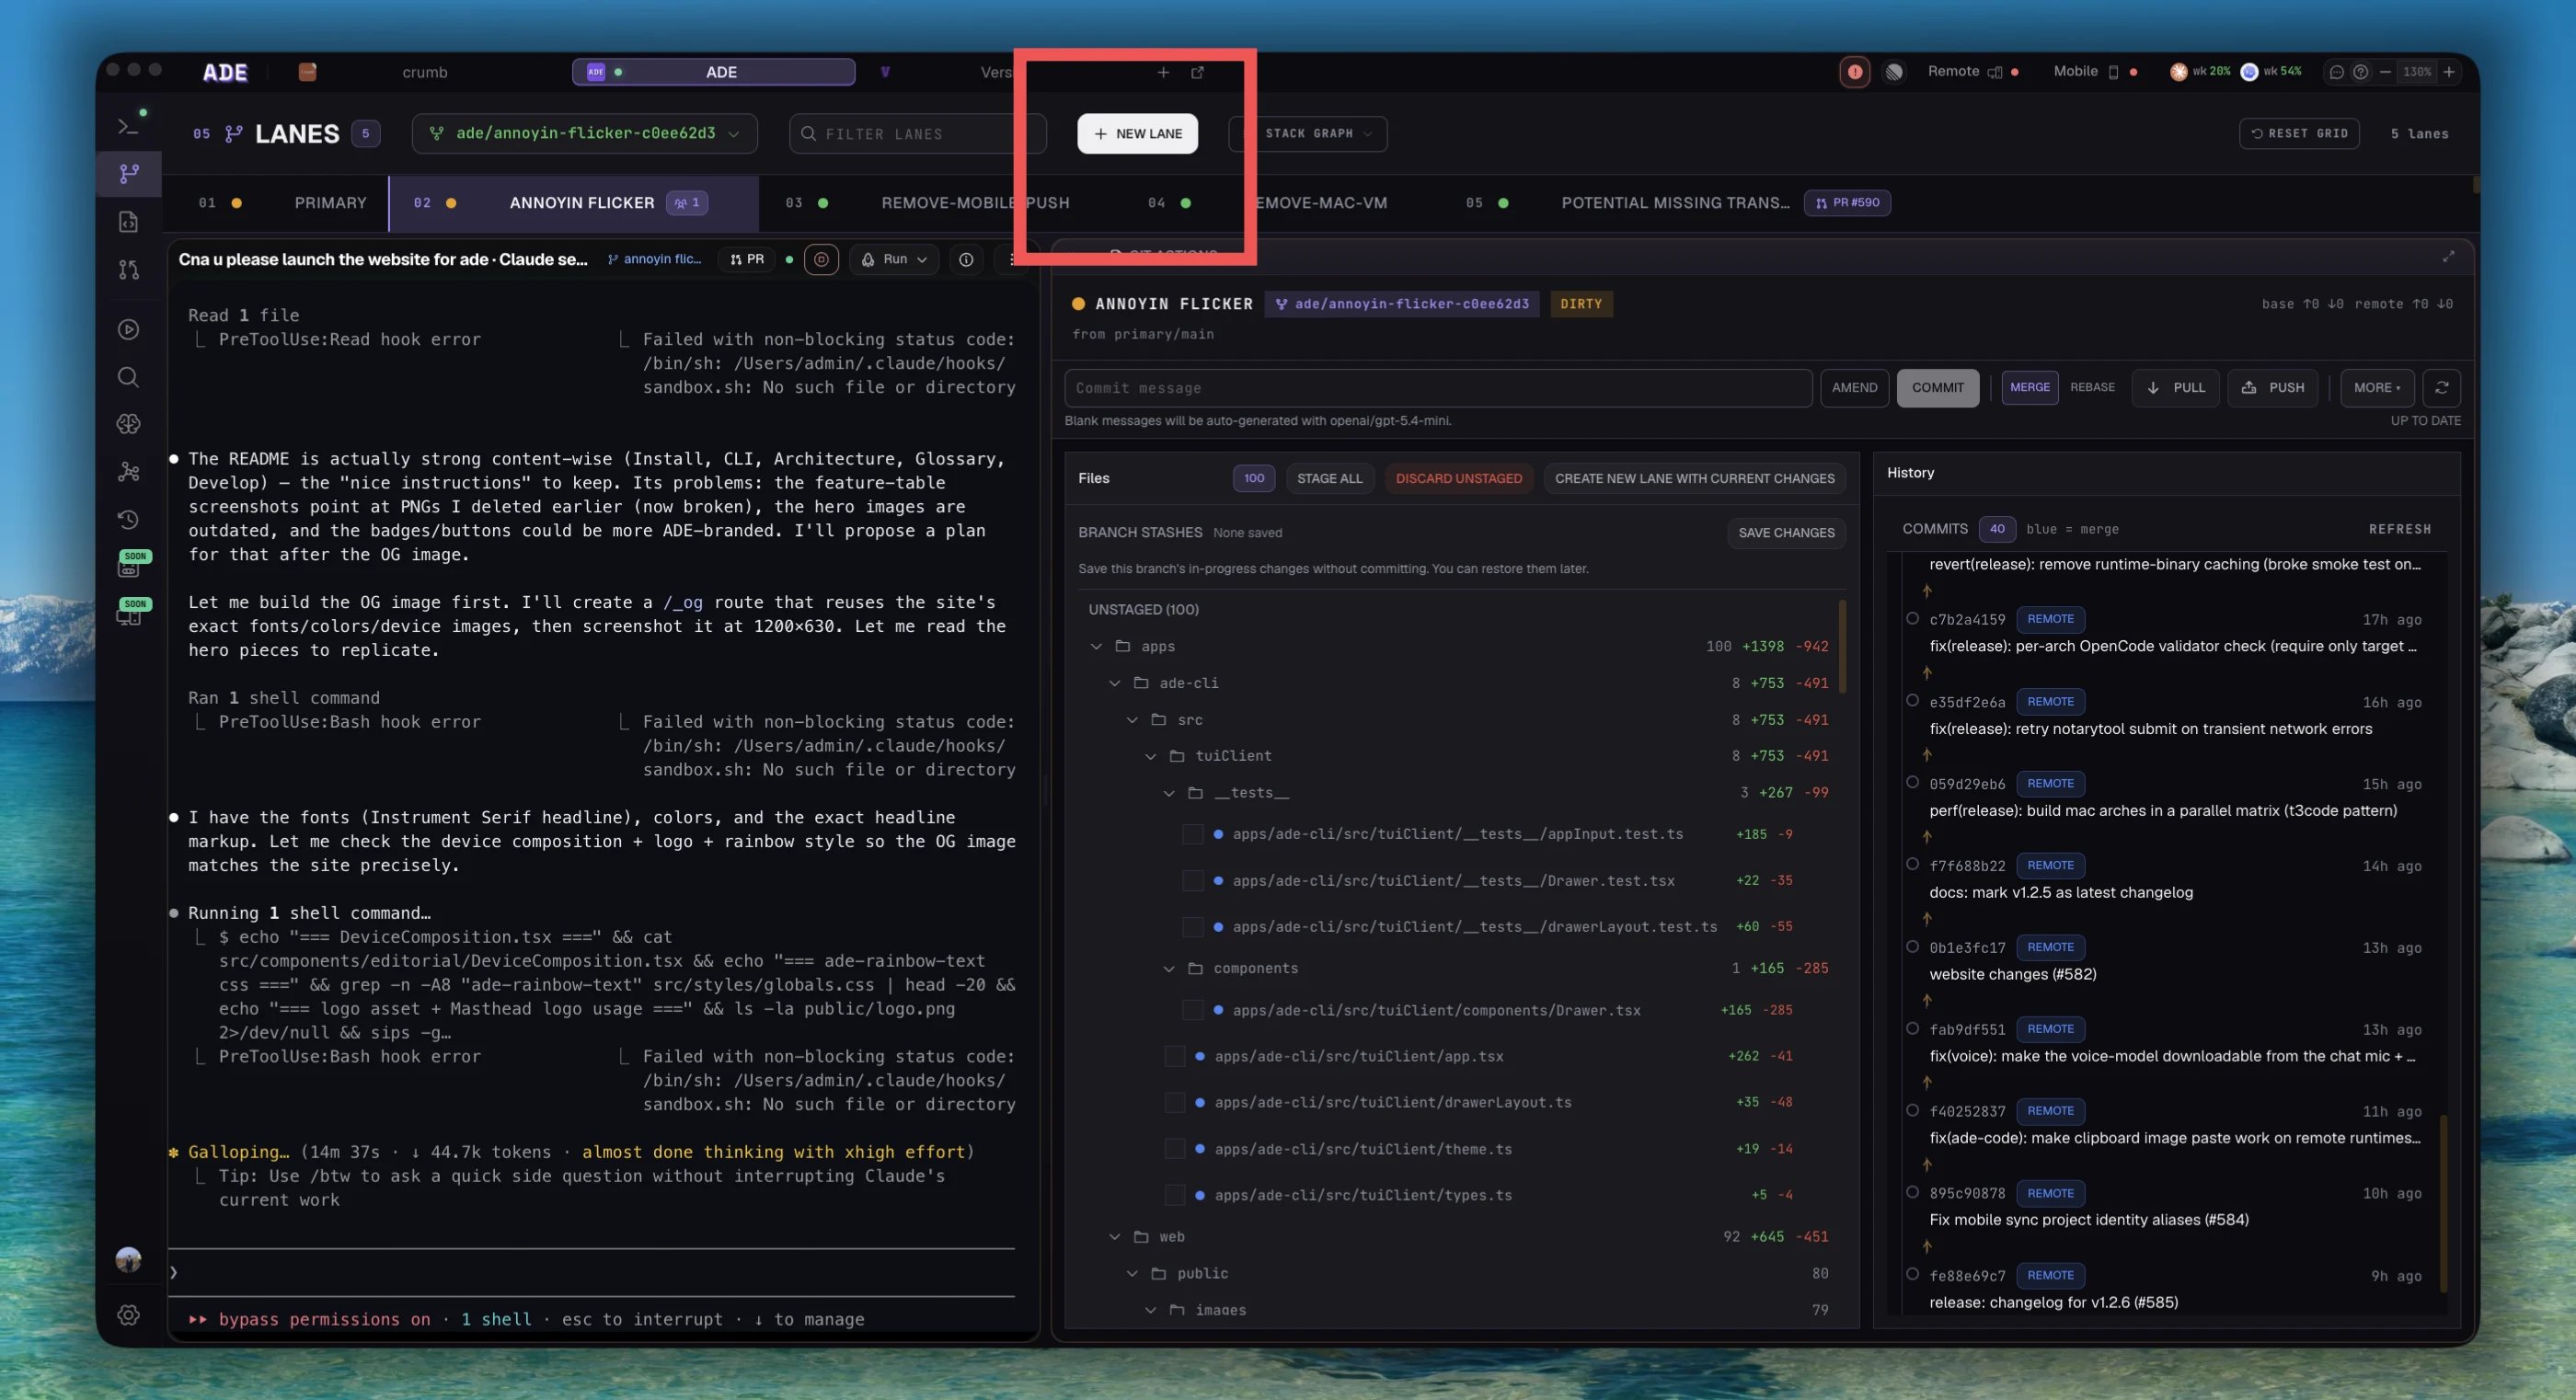
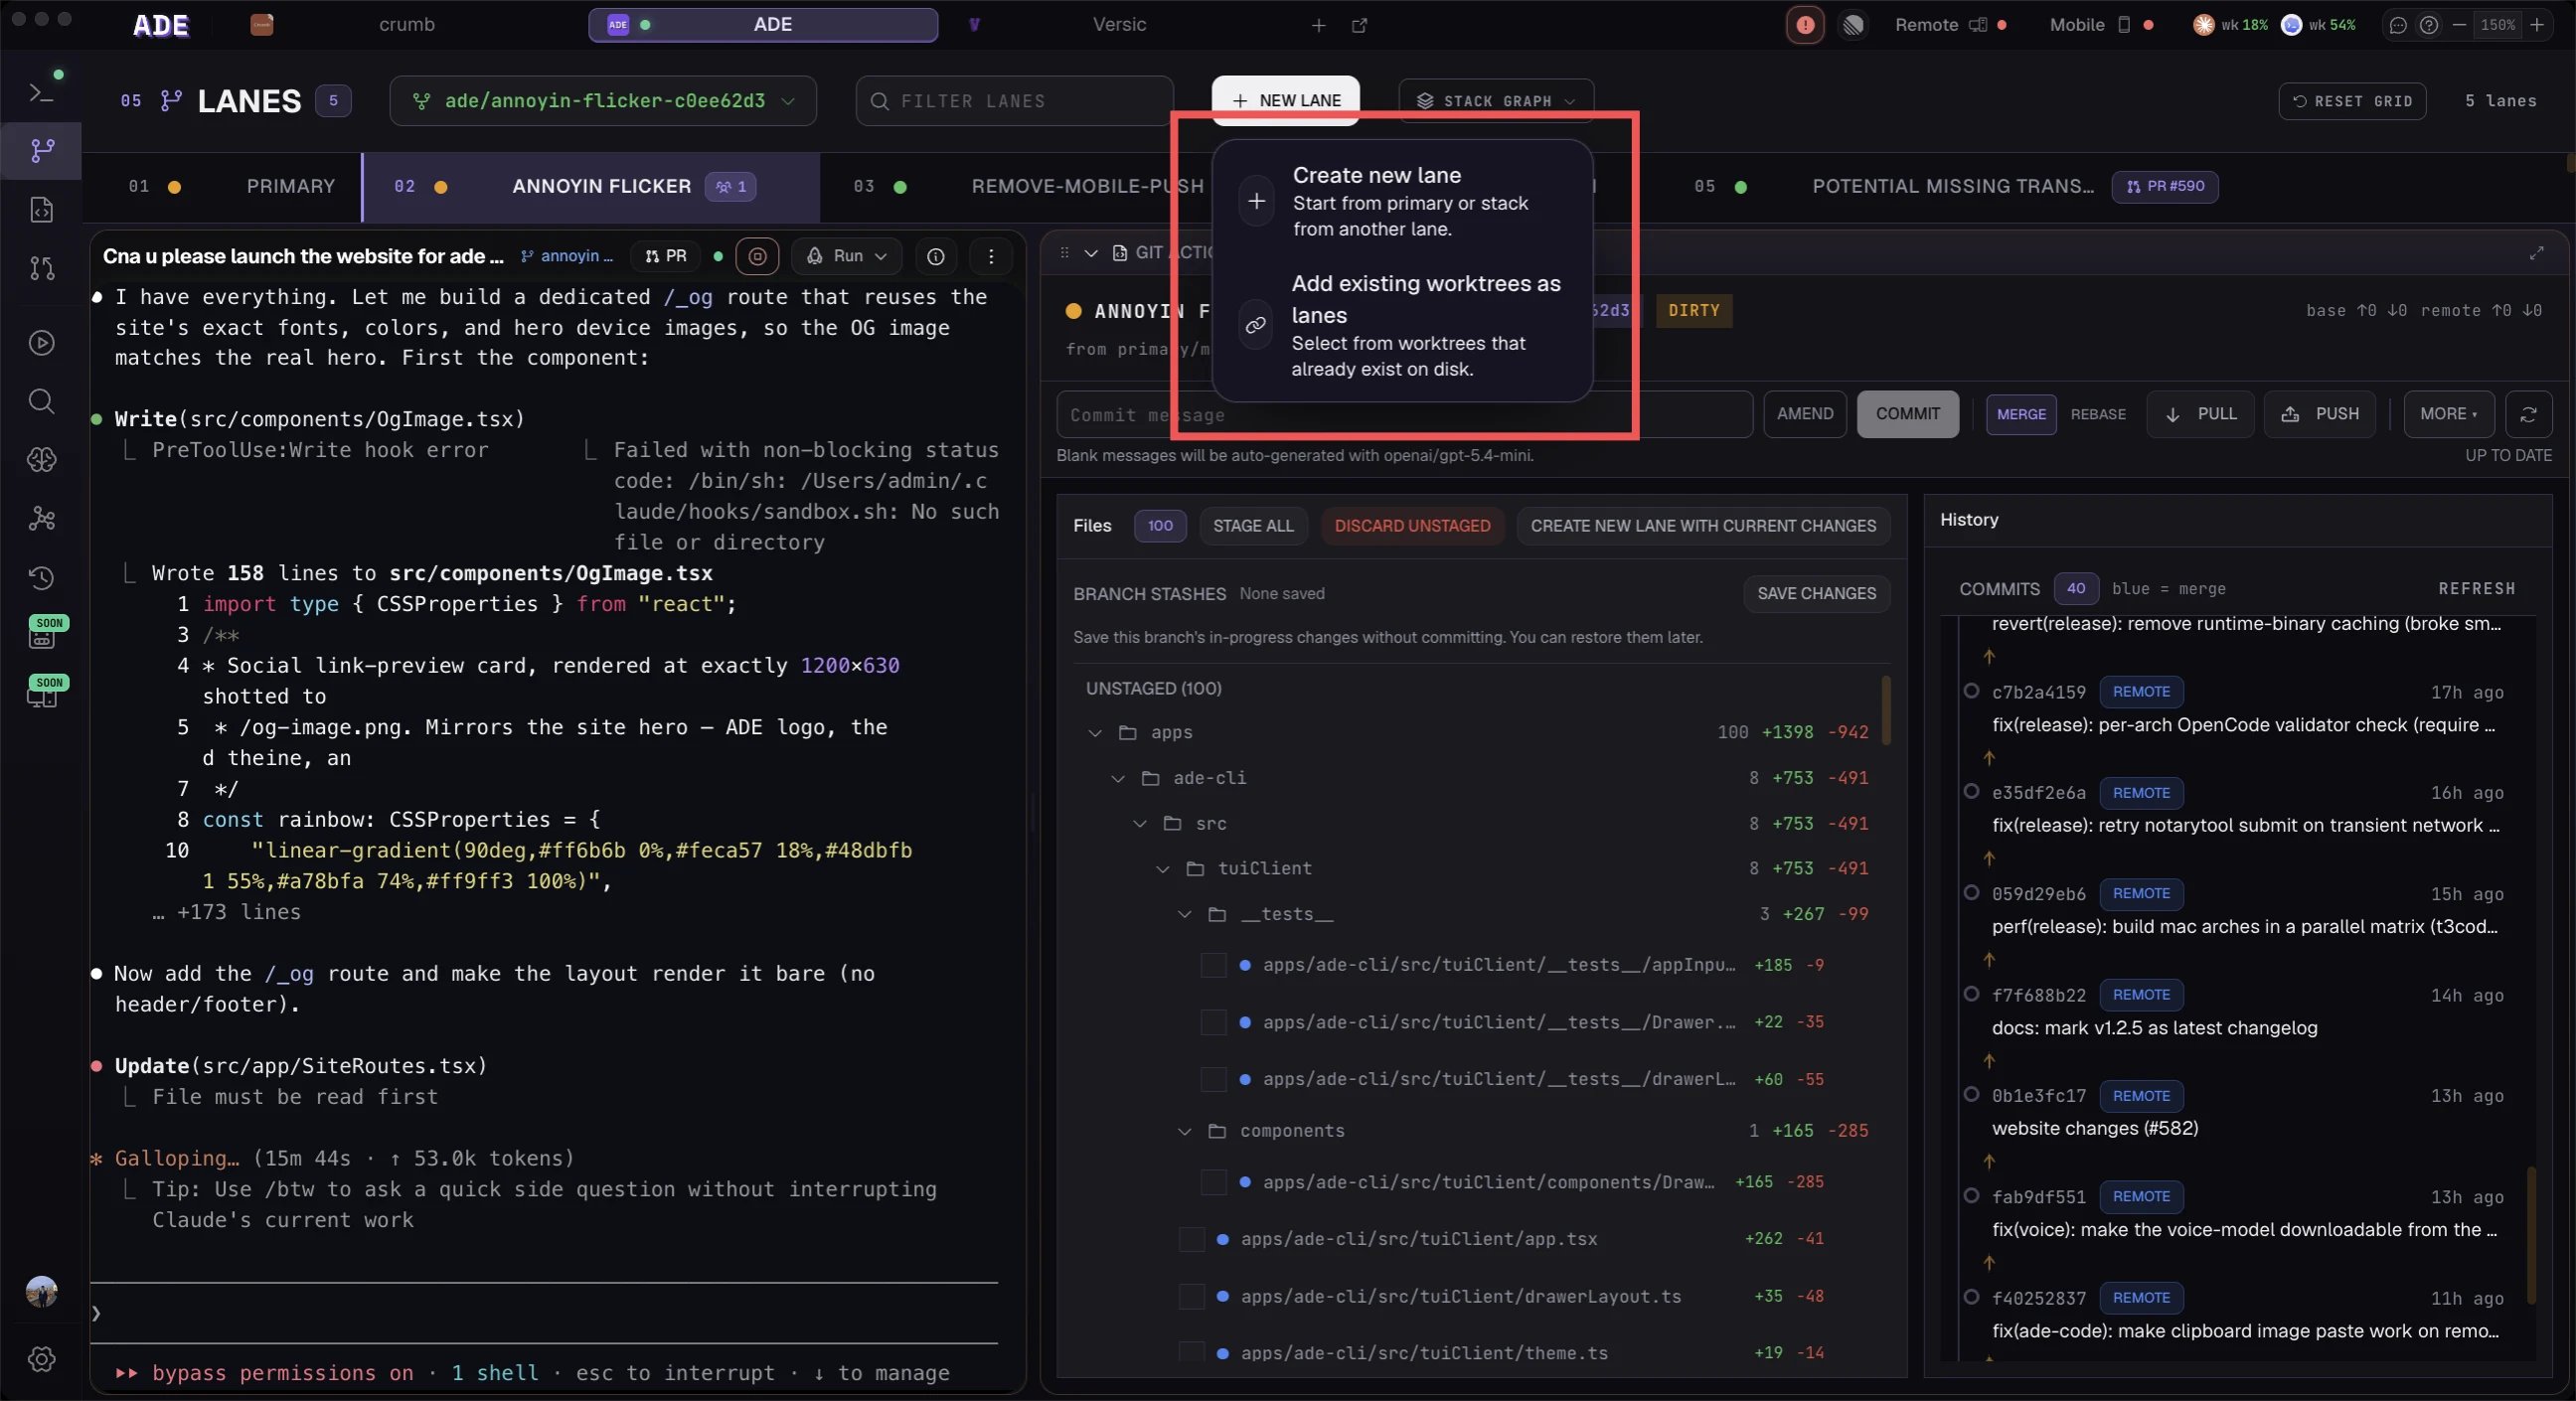
Create the lane
Let ADE name it for you
You don’t have to create lanes by hand. Describe a task in chat and ADE spins up a fresh worktree, auto-named from the task — no stashing, no context switch.
Good lane names
| Good | Avoid |
|---|---|
add-health-endpoint | test |
fix-auth-redirect | agent-work |
linear-eng-142 | new-branch |
When the lane is ready
The lane should show a clean diff and no active sessions. Open it in Work to start a chat or a terminal.Run your first agent
Start a small lane-scoped chat.
Lanes
How lanes, stacks, and cleanup work.