Start the chat
Start a new chat
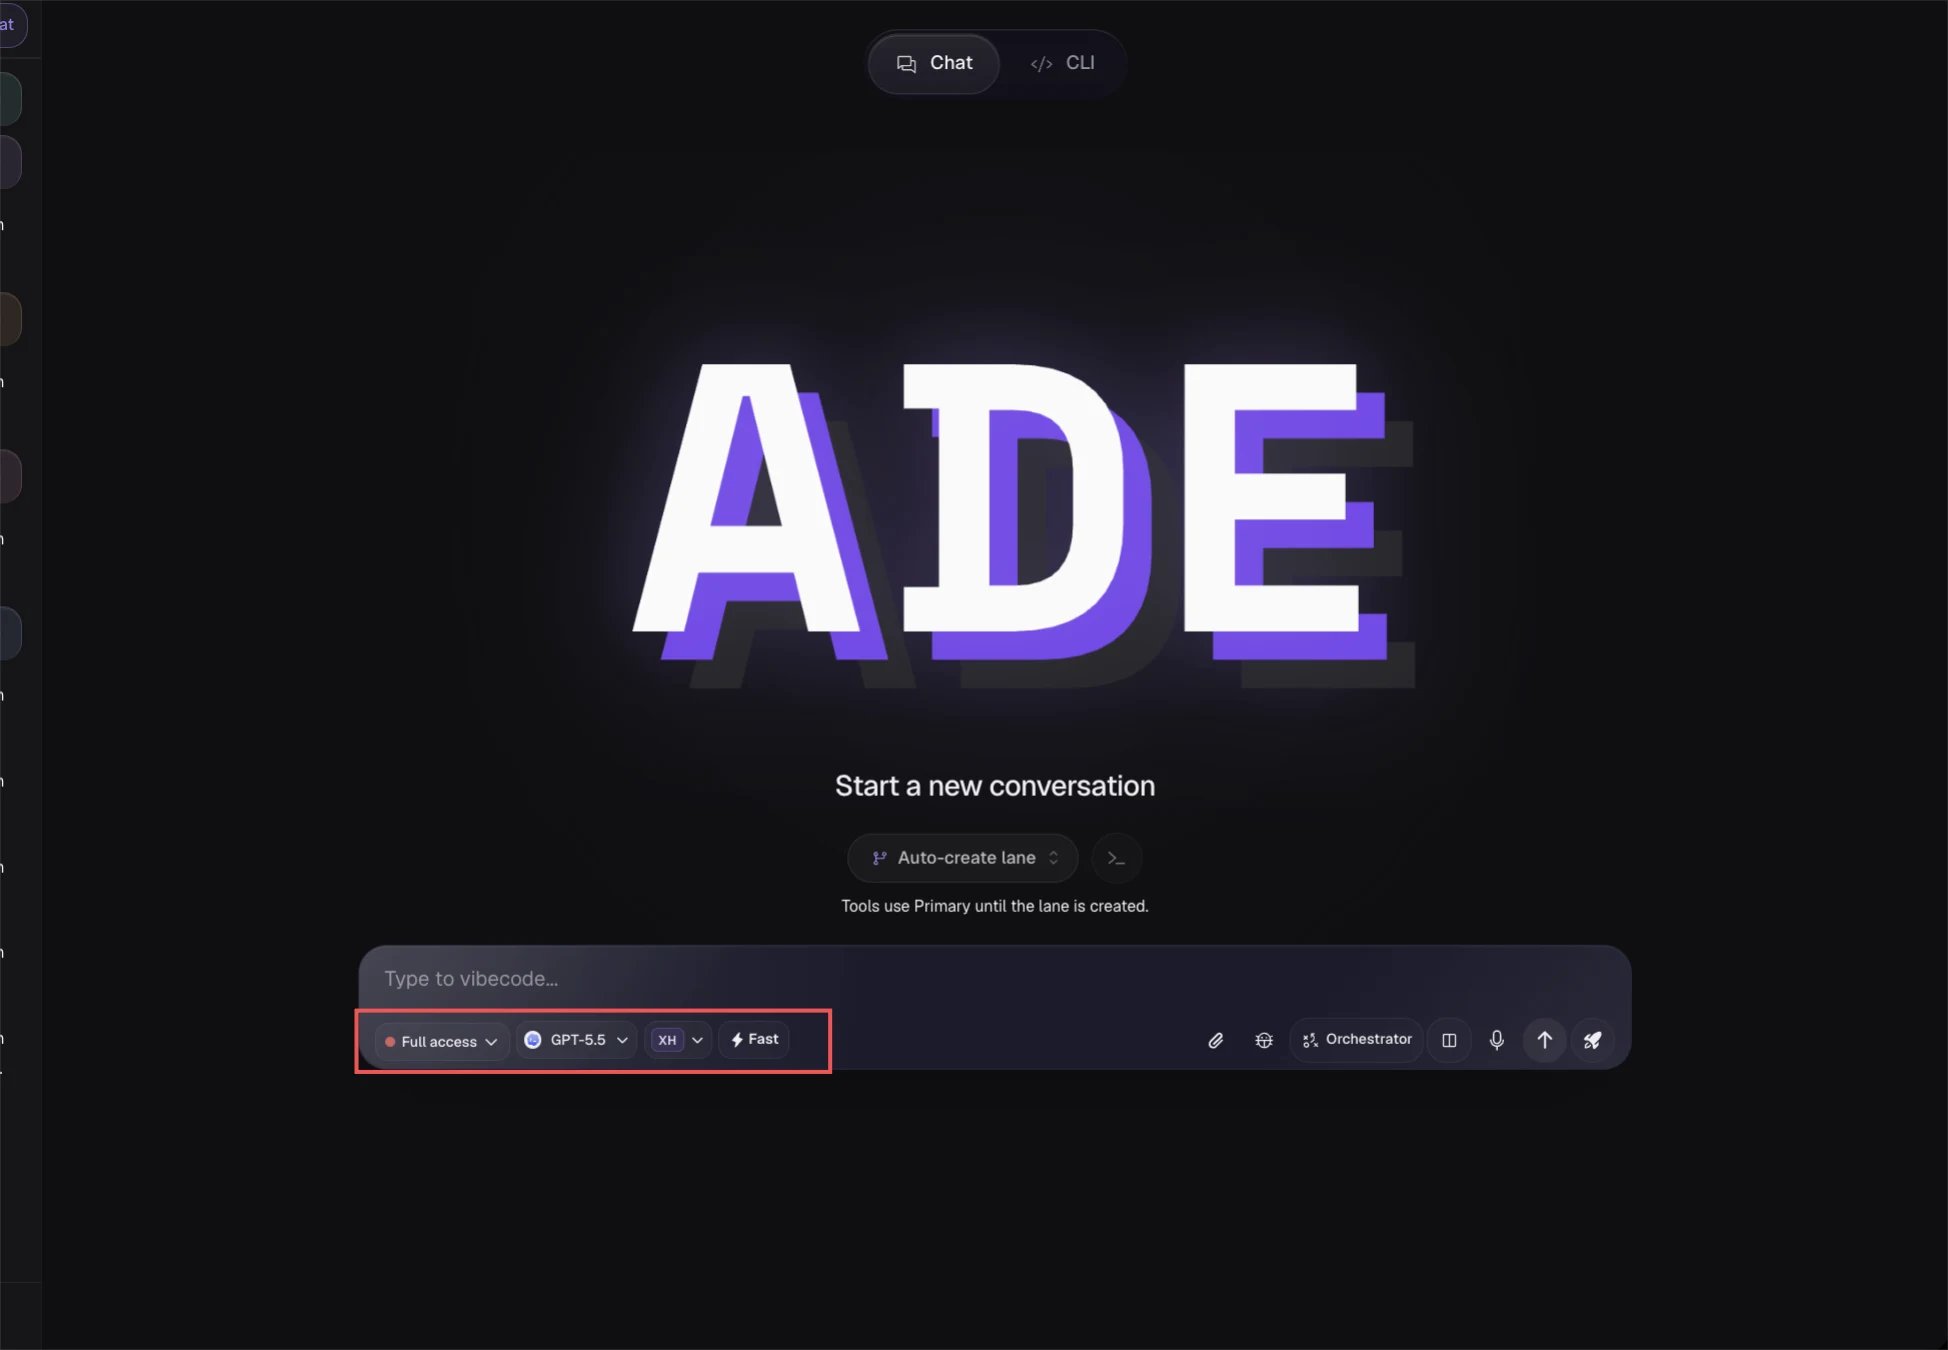
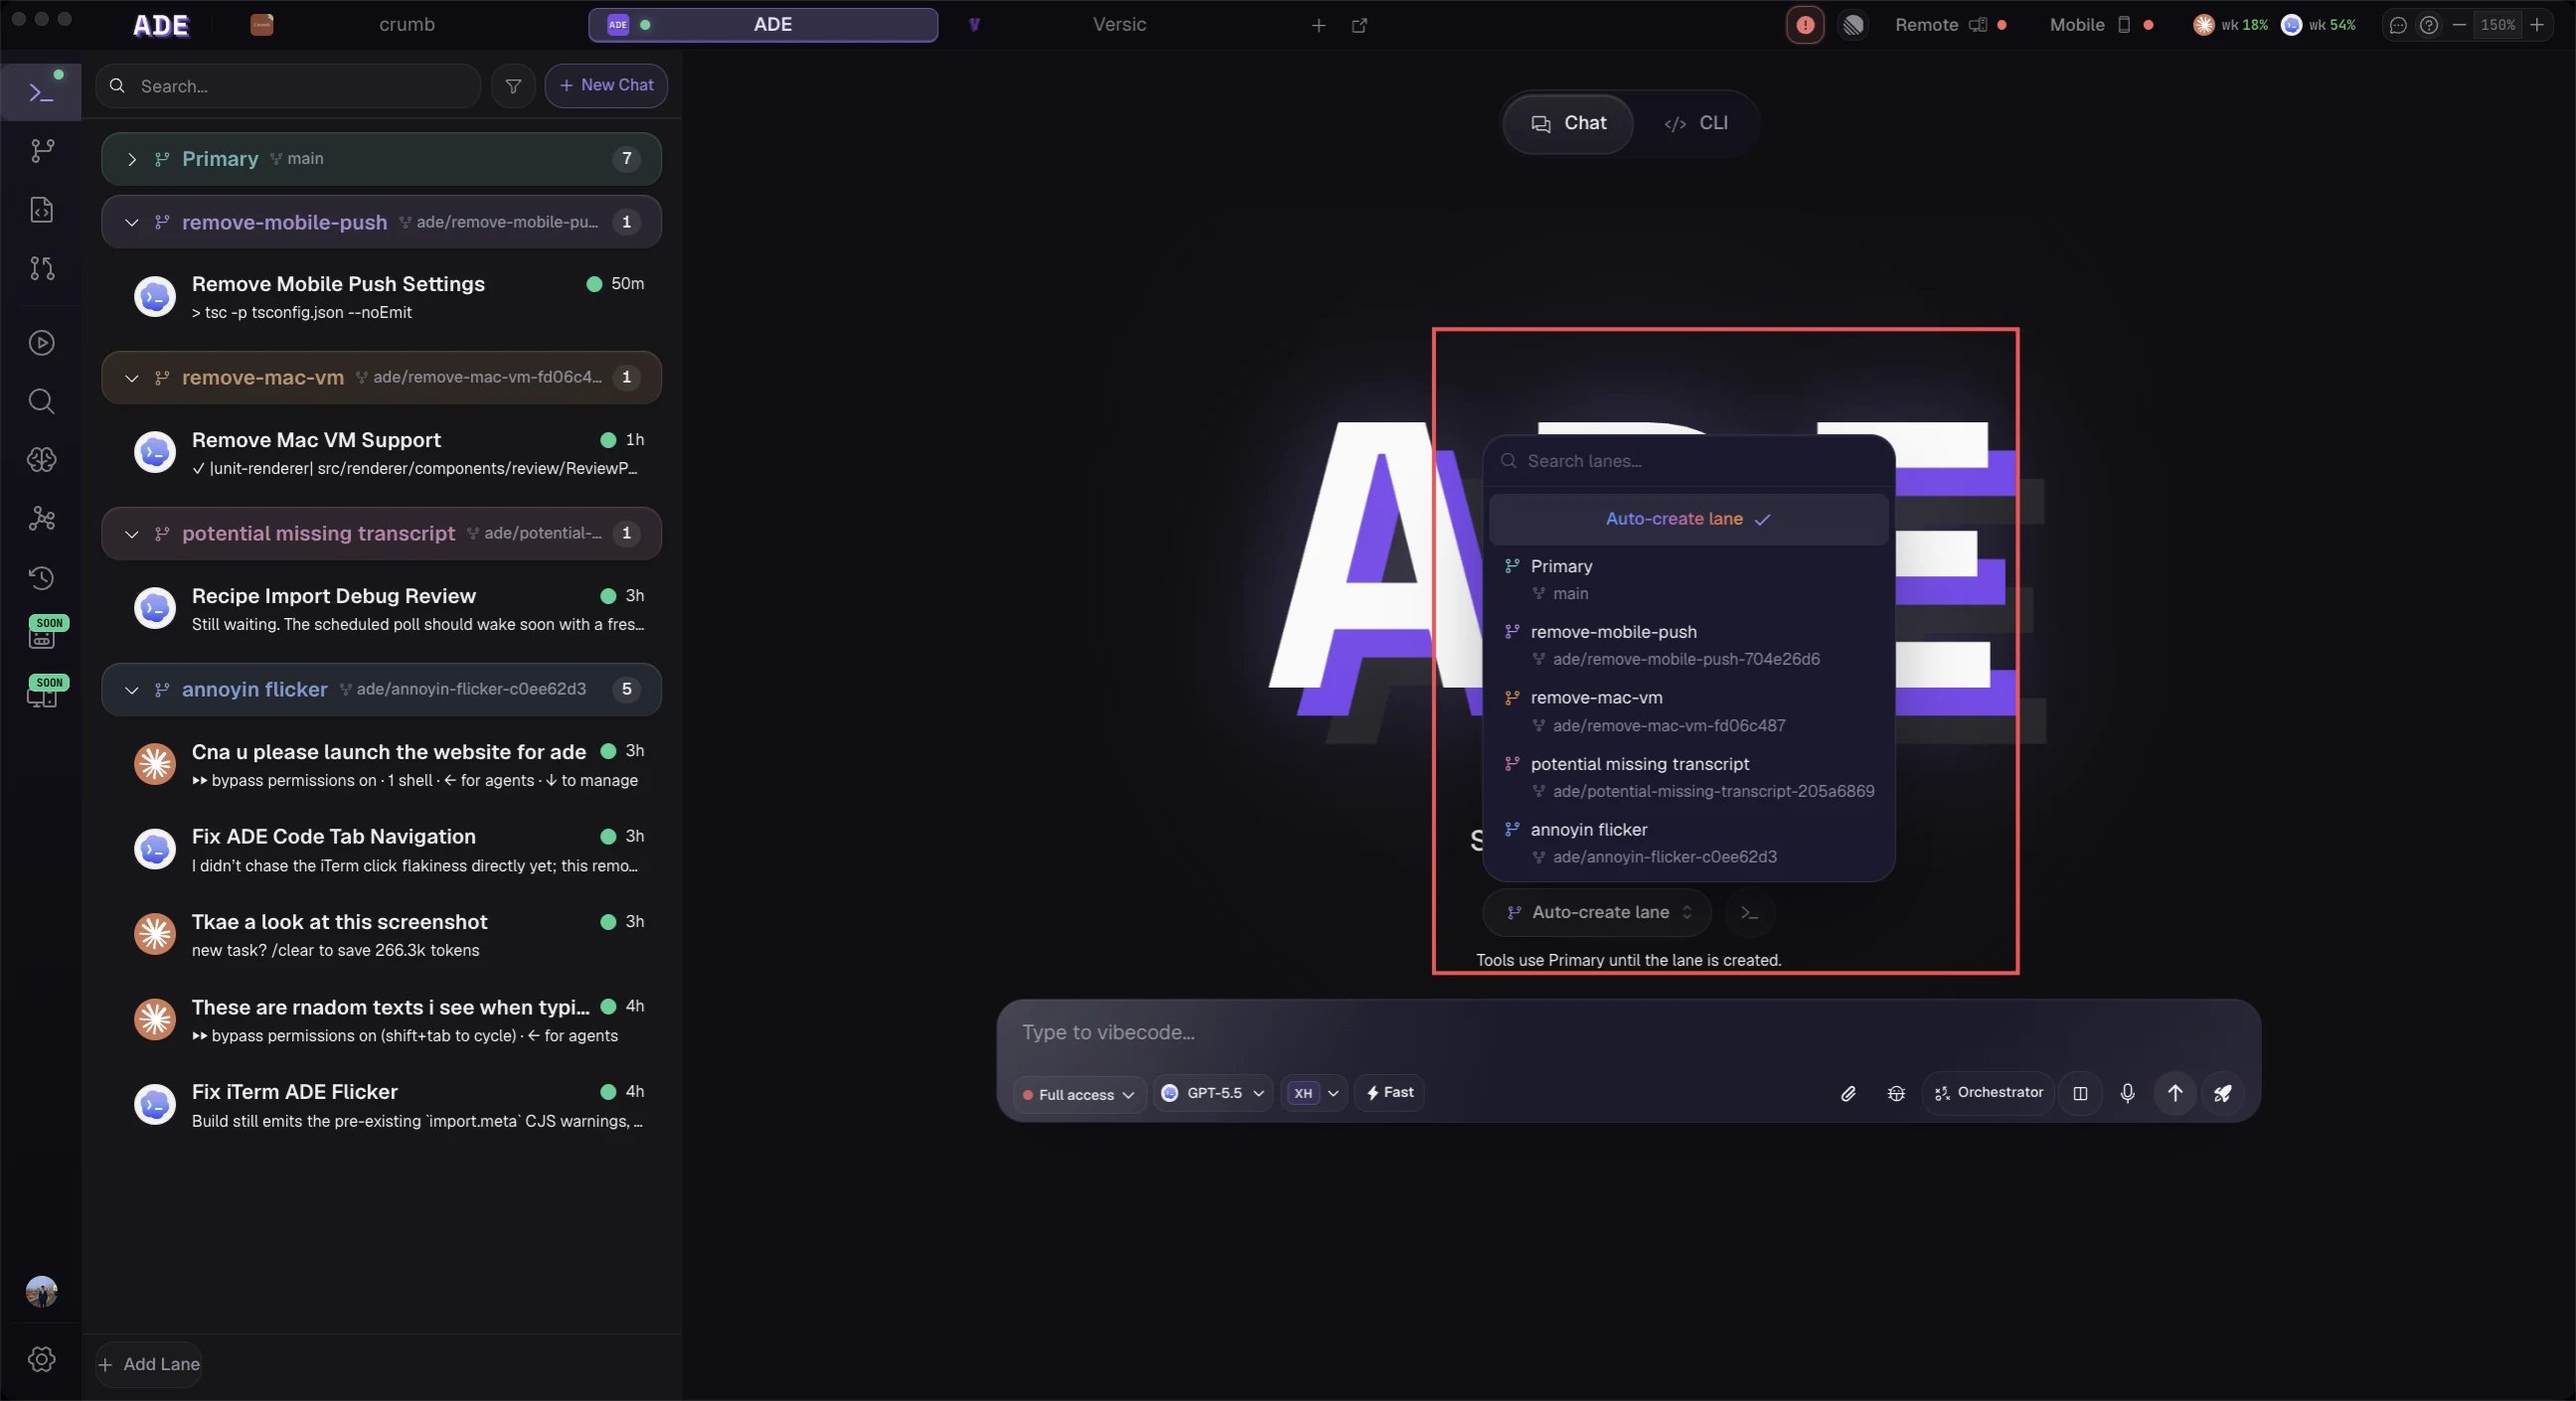
In Work, open a new chat. You can pick an existing lane or let ADE create one for the task.
Pick a provider and model
Use the default, or choose any verified provider — Claude Code, Codex, Cursor, Factory Droid, or OpenCode — from the model selector.
Send a narrow task
Ask for one contained change. Skip broad prompts like “clean up the whole app” for your first run.
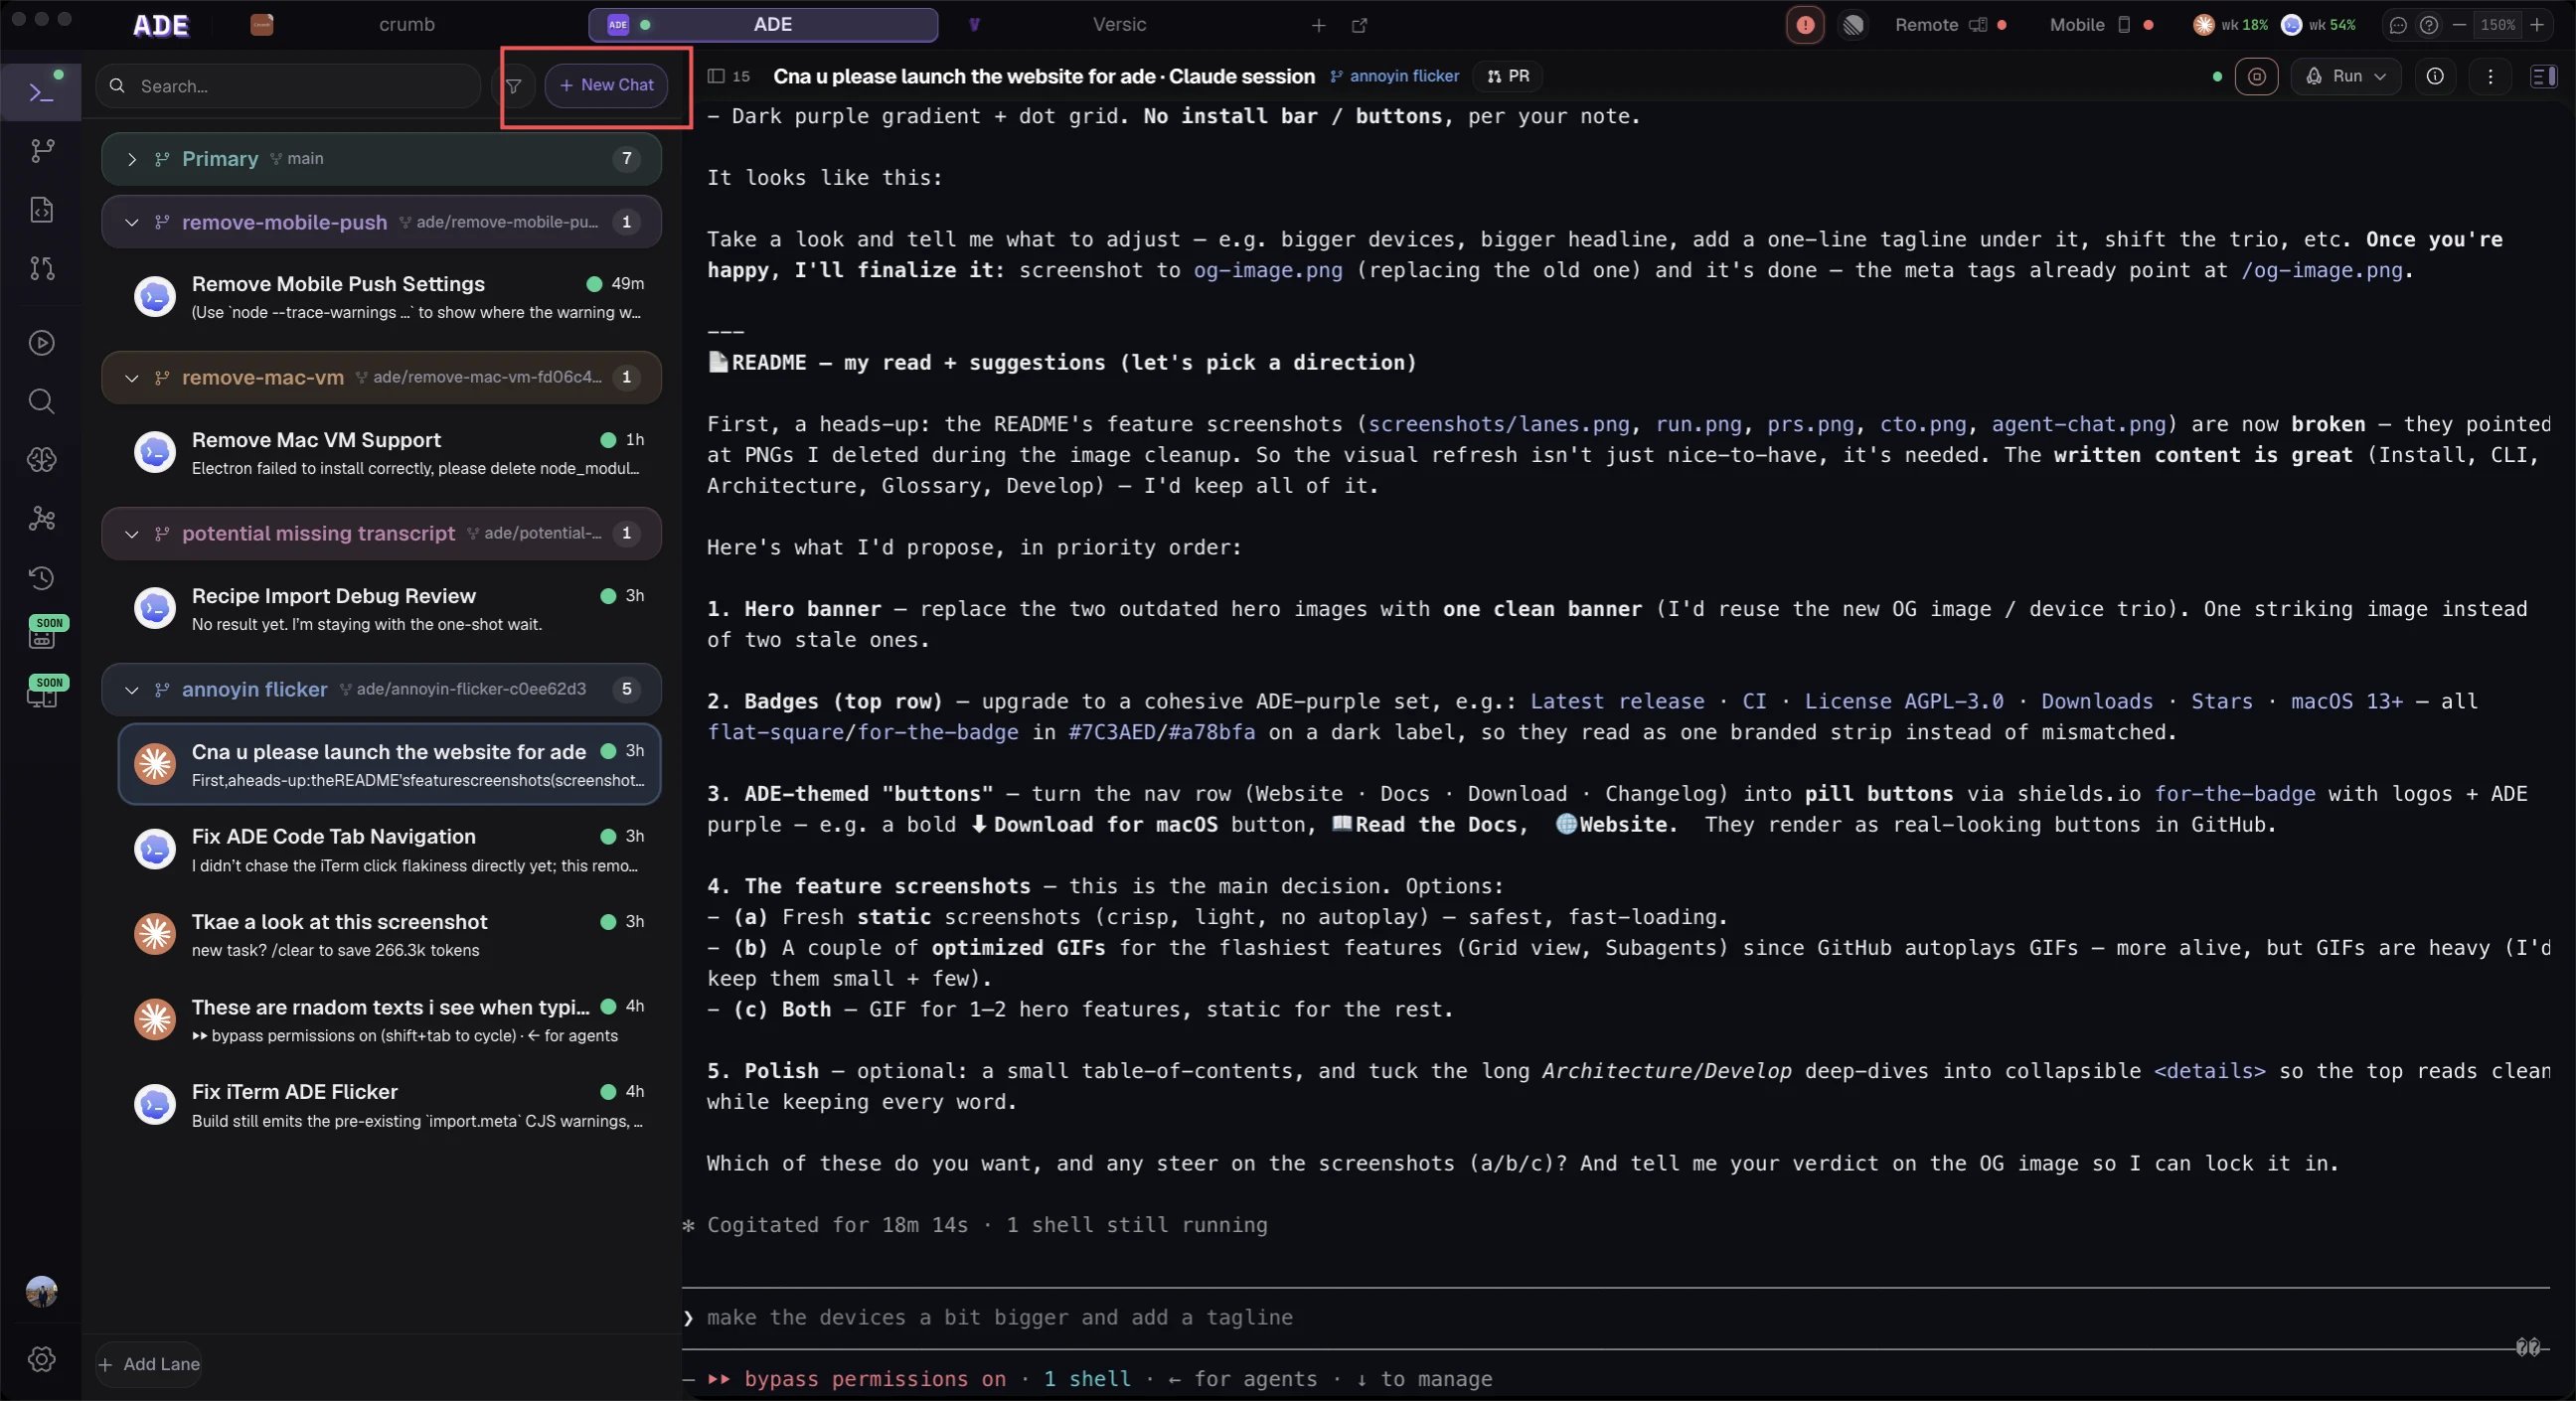
Watch tool calls
The transcript streams reads, edits, shell commands, and test output as the agent works.
First prompt
If the agent gets stuck
Unstick a run
Unstick a run
- Press Stop and ask for a shorter plan.
- Paste the exact test or build error back into the chat.
- Switch to a stronger model for the session.
- Keep the task inside the lane — don’t move it to your primary checkout.
Next
Agent chat
How chats, providers, and tool calls work.
Pull requests
Open a PR once the lane is ready.