> ## Documentation Index
> Fetch the complete documentation index at: https://ade-app.dev/docs/llms.txt
> Use this file to discover all available pages before exploring further.
# Quickstart
> Install ADE, open a project, create a lane, and run your first agent task.
This page is the shortest useful path. You can tune providers, permissions, Linear, mobile, and worker settings later.
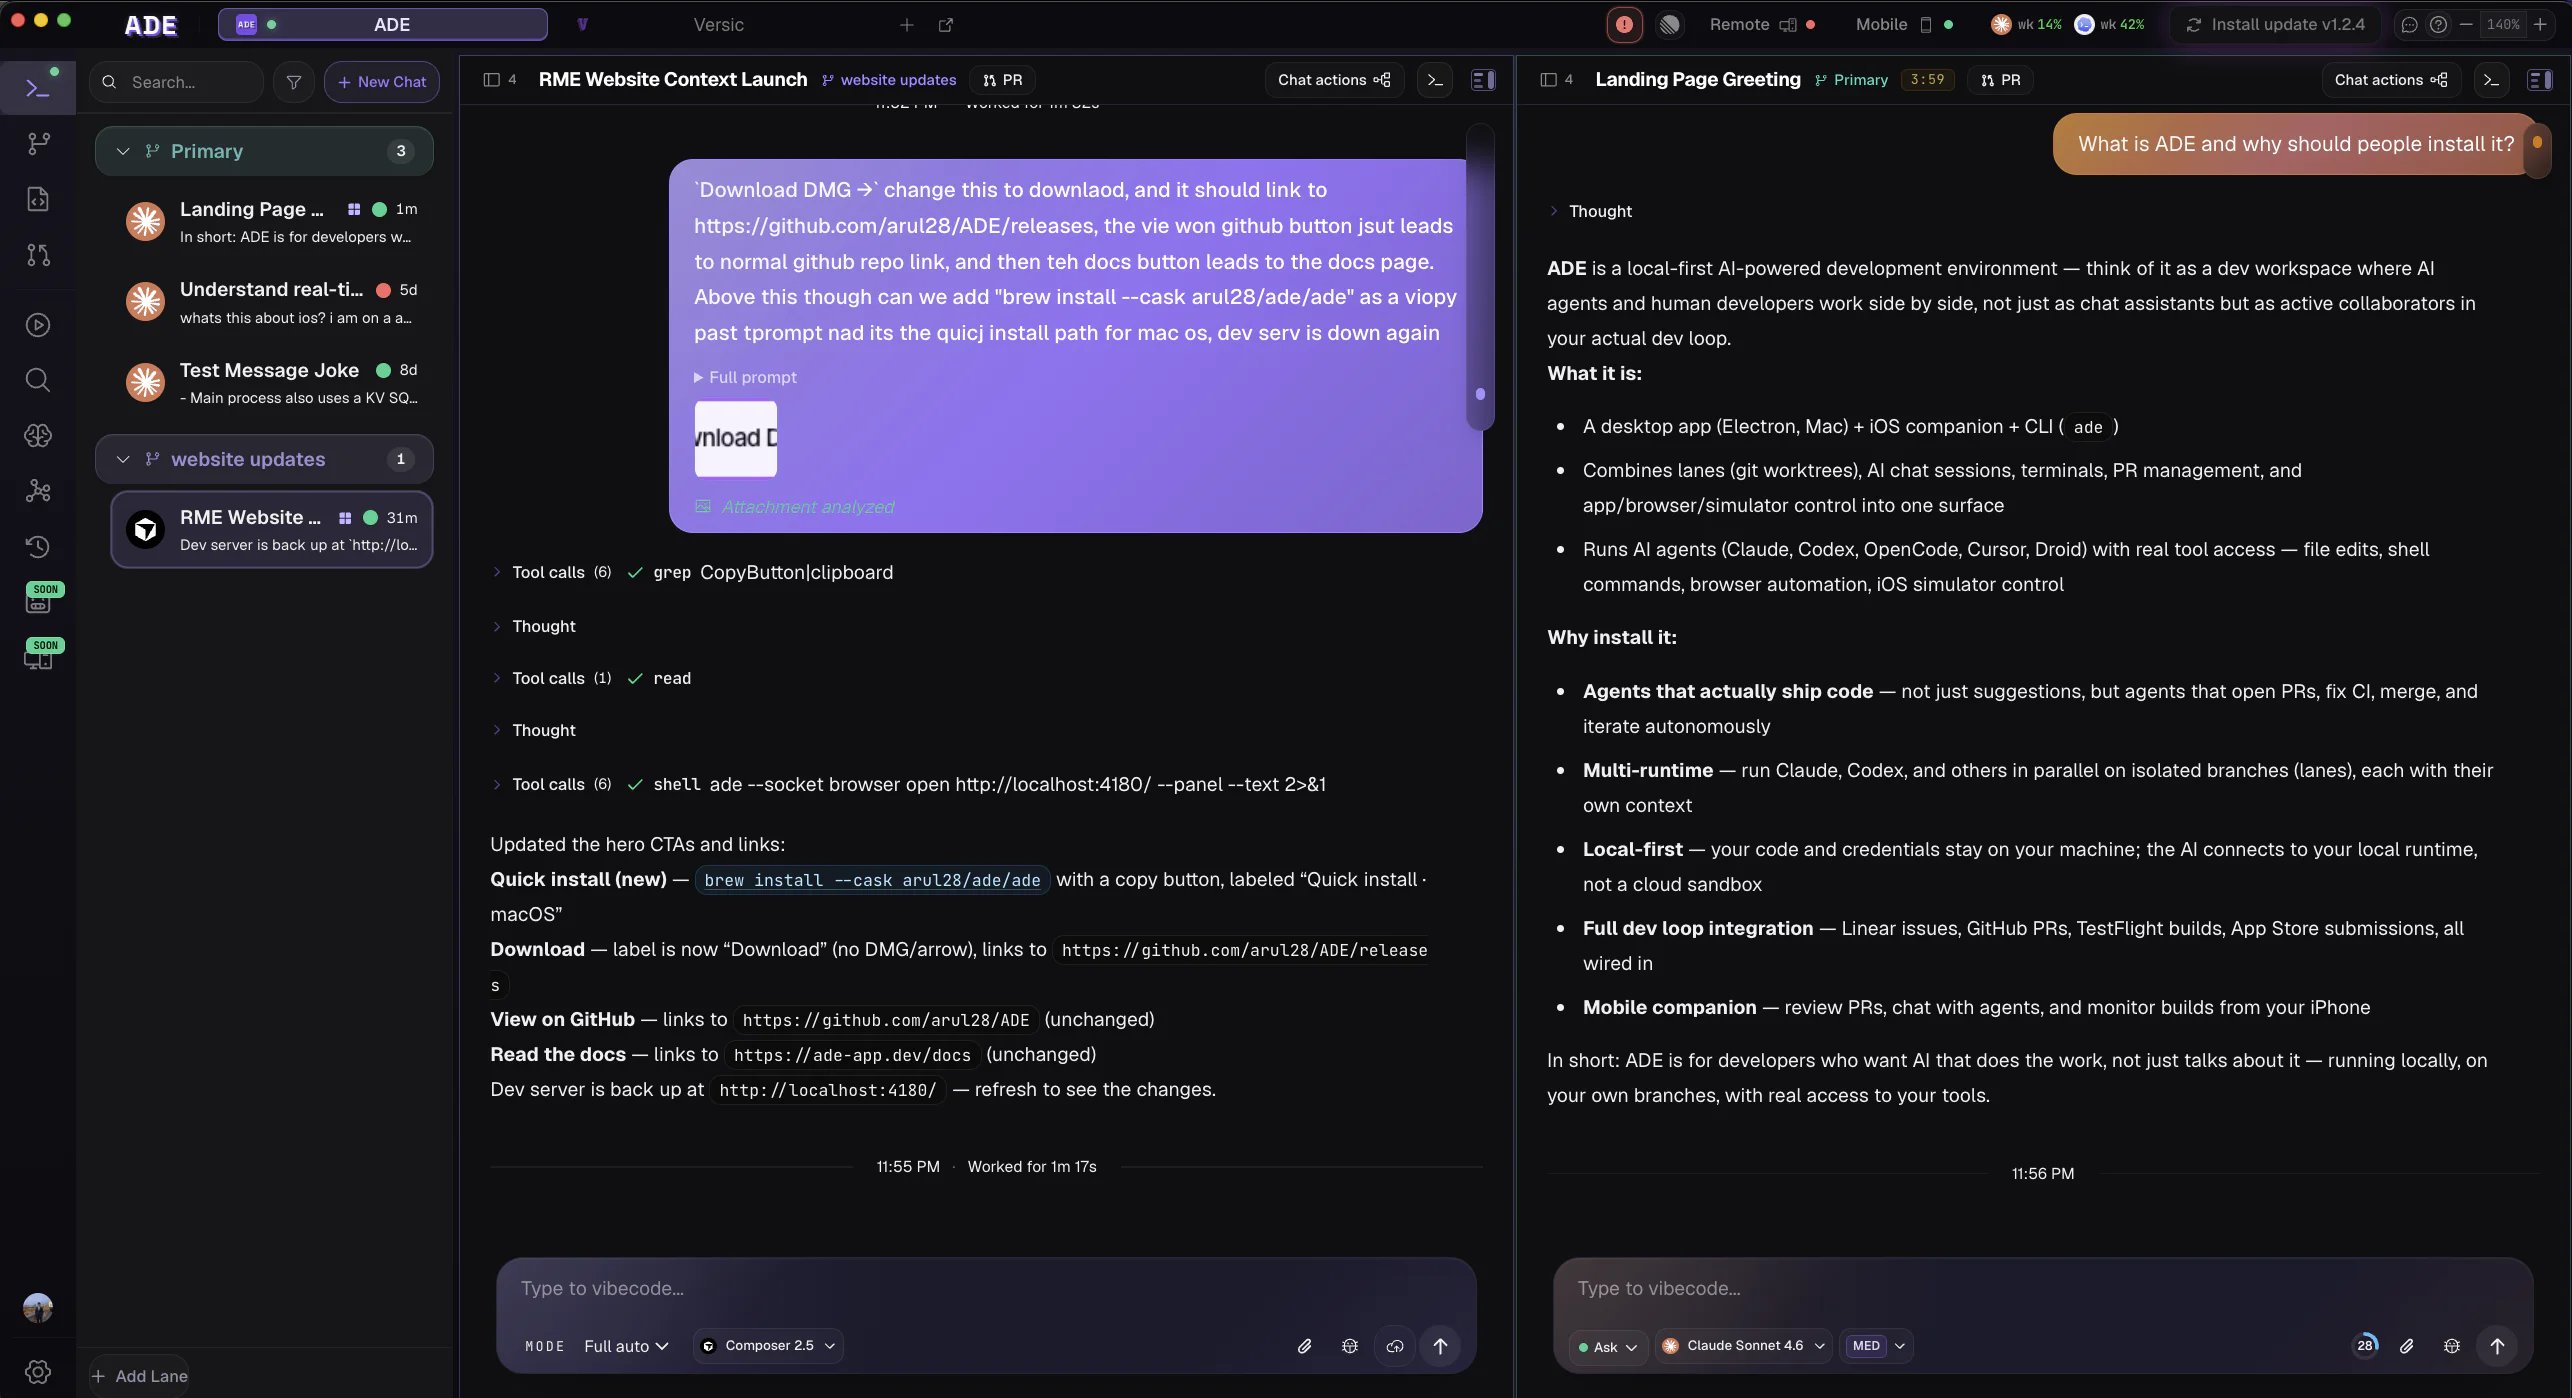 One command installs the ADE brain, registers it as a background service, and offers to sign you in and add the desktop app.
```bash macOS & Linux theme={null}
curl -fsSL https://ade-app.dev/install.sh | sh
```
```powershell Windows theme={null}
irm https://ade-app.dev/install.ps1 | iex
```
Prefer to click? Download the desktop app for [Apple Silicon](https://ade-app.dev/download/mac-arm64), [Intel](https://ade-app.dev/download/mac-x64), or [Windows x64](https://ade-app.dev/download/windows). On Windows, ADE is in beta — [what differs](/docs/getting-started/windows). On Linux, ADE runs headless as the brain and you drive it from elsewhere — see [Connect a machine](/docs/getting-started/connect-machine). Full detail: [Install ADE](/docs/getting-started/install). The optional iOS companion is on [TestFlight](https://testflight.apple.com/join/ZSdJGKPy).
Open **Settings -> AI Providers** and verify at least one provider. Claude Code, Codex, Cursor, Factory Droid, and OpenCode are the agent paths.
Use **Open Repository** on the welcome screen or press `Cmd+O` (`Ctrl+O` on Windows). Choose the repository root, not a subfolder.
In **Lanes**, create a new lane from your default branch. A lane is ADE's name for a git worktree — it gets its own branch and working copy under `.ade/worktrees/`, isolated from your main checkout.
Open the lane in **Work** or **Chat** and send a narrow task. Start with something easy to inspect.
Use **Files** to inspect the diff, run tests from **Run** or the terminal, then commit and create a PR when it looks right.
## A good first prompt
```text theme={null}
Add a GET /health endpoint that returns { "status": "ok" } and add one test for it.
```
Pick a version of that prompt that fits your project. The goal is to exercise the loop: lane, chat, edit, test, review, commit.
## What to read next
Understand the product vocabulary without reading a reference manual.
More detail on choosing a provider, watching tool calls, and reviewing output.
How ADE keeps parallel work isolated.
How finished lane work moves into GitHub review.
One command installs the ADE brain, registers it as a background service, and offers to sign you in and add the desktop app.
```bash macOS & Linux theme={null}
curl -fsSL https://ade-app.dev/install.sh | sh
```
```powershell Windows theme={null}
irm https://ade-app.dev/install.ps1 | iex
```
Prefer to click? Download the desktop app for [Apple Silicon](https://ade-app.dev/download/mac-arm64), [Intel](https://ade-app.dev/download/mac-x64), or [Windows x64](https://ade-app.dev/download/windows). On Windows, ADE is in beta — [what differs](/docs/getting-started/windows). On Linux, ADE runs headless as the brain and you drive it from elsewhere — see [Connect a machine](/docs/getting-started/connect-machine). Full detail: [Install ADE](/docs/getting-started/install). The optional iOS companion is on [TestFlight](https://testflight.apple.com/join/ZSdJGKPy).
Open **Settings -> AI Providers** and verify at least one provider. Claude Code, Codex, Cursor, Factory Droid, and OpenCode are the agent paths.
Use **Open Repository** on the welcome screen or press `Cmd+O` (`Ctrl+O` on Windows). Choose the repository root, not a subfolder.
In **Lanes**, create a new lane from your default branch. A lane is ADE's name for a git worktree — it gets its own branch and working copy under `.ade/worktrees/`, isolated from your main checkout.
Open the lane in **Work** or **Chat** and send a narrow task. Start with something easy to inspect.
Use **Files** to inspect the diff, run tests from **Run** or the terminal, then commit and create a PR when it looks right.
## A good first prompt
```text theme={null}
Add a GET /health endpoint that returns { "status": "ok" } and add one test for it.
```
Pick a version of that prompt that fits your project. The goal is to exercise the loop: lane, chat, edit, test, review, commit.
## What to read next
Understand the product vocabulary without reading a reference manual.
More detail on choosing a provider, watching tool calls, and reviewing output.
How ADE keeps parallel work isolated.
How finished lane work moves into GitHub review.